| Special tools and workshop equipment
required |
|
|
|
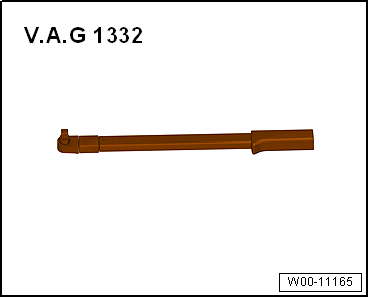
| Torque wrench -V.A.G 1332- |
| – |
Remove spring
→ Chapter. |
| – |
If fitted, detach line from retainer on transverse link. |
|
|
|
| – |
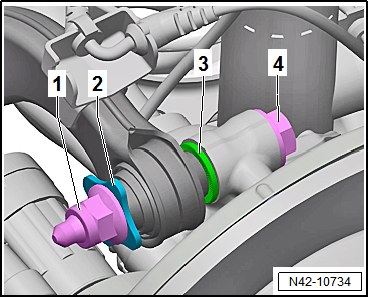
Unscrew nut -1- and remove
washer -2-. |
|
|
|
| – |
Use felt-tip pen or similar to mark position of eccentric
bolt -3- in relation to subframe. |
| – |
Unscrew nut -2- and pull out
eccentric bolt -3-. |
| – |
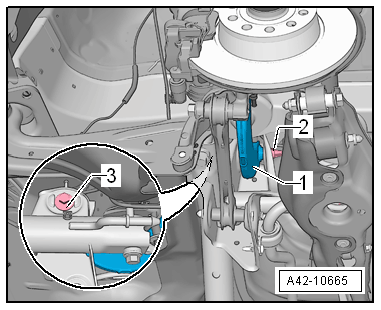
Take out upper transverse link -1-. |
| Install in reverse order of removal, observing the
following: |
| The threaded connections of the suspension link may only be
loosened and tightened in the unladen weight position
→ Chapter. |
| – |
Perform wheel alignment
→ Chapter. |
| → Chapter „Assembly overview - transverse link“ |
| → Chapter „Torque settings for wheel bolts“ |
|
|
|
Questions & answers
Removing and installing upper transverse link, four-wheel drive — Volkswagen Golf Mk7
How does Golf Mk7 4WD upper transverse link removal differ?
Same procedure but different torque values. Check rear alignment after fitting.
Special tools and workshop equipment
required
Torque wrench -V.A.G 1332-
Re ...
Special tools and workshop equipment
required
Torque wrench -V.A.G 1332-
Re ...

 Removing and installing upper transverse link, front-wheel drive
 Removing and installing lower transverse link