| – |
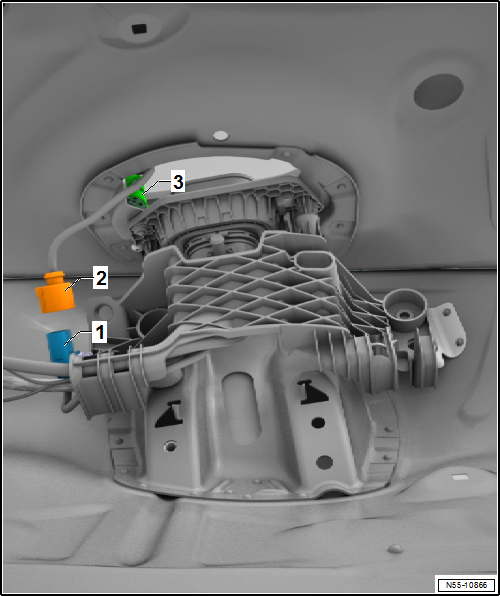
Remove wheel housing liner
→ Chapter. |
| – |
Disconnect connector -2- for switch
-3-. |
| – |
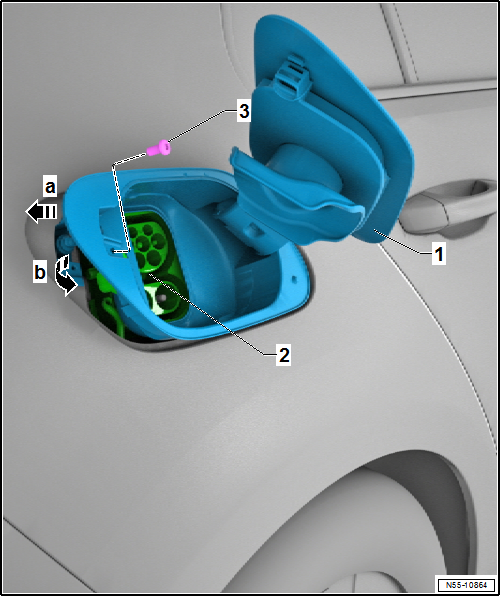
Slightly pull tank flap unit towards rear
-arrow a- out of catches. |
| – |
Swing tank flap unit -1- out of the
side panel -arrow b-. |
| – |
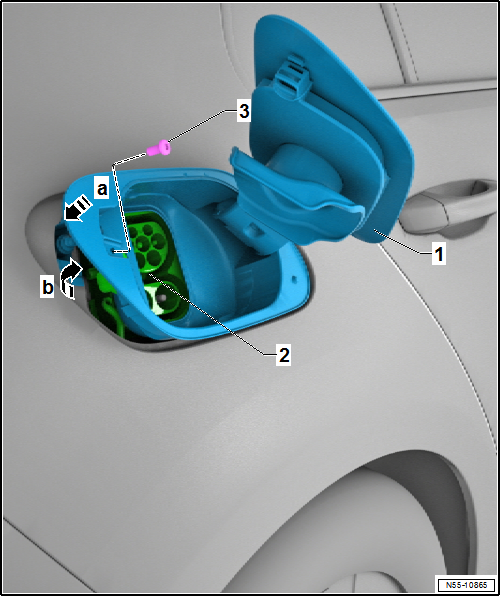
Push electrical wiring for switch into side panel, and connect it. |
| – |
Swing tank flap unit -1- into the side
panel -arrow b-. |
| – |
Then, push tank flap unit completely into side panel
-arrow a-. |
| l |
Check function of release components. |
Questions & answers
Removing and installing tank flap unit, e-Golf — Volkswagen Golf Mk7
How does Golf Mk7 e-Golf tank flap removal differ?
Remove the wheel housing liner for access, disconnect the electrical connector for the charge switch, then follow the same pull-and-swing procedure as the standard model.
Removing
–
Screw off tank cover.
–
Remove bolt -3-.
–
Slightly ...
Removing
–
Push tank flap -1- out of catches of
tank flap unit -2--arrows-.
–
Remove tank flap.
Installing
...


