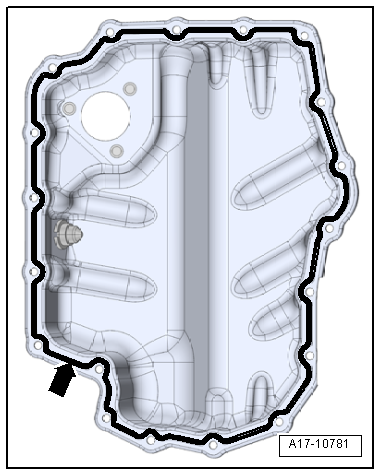
Using a flat scraper, sealant remover and a hand drill with plastic brush, this page covers removing the Volkswagen Golf Mk7 lower sump section — wear eye protection during sealant removal.
| Special tools and workshop equipment
required |
| Commercially available scraper |
| Hand drill with plastic brush attachment |
| Sealant
→ Electronic Parts Catalogue |
| – |
Remove noise insulation
→ General body repairs, exterior; Rep. gr.66. |
|
|
|
| – |
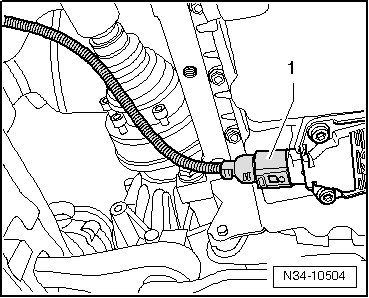
Disconnect electrical connector -1-
on oil level and oil temperature sender -G266-. |
|
|
|
| – |
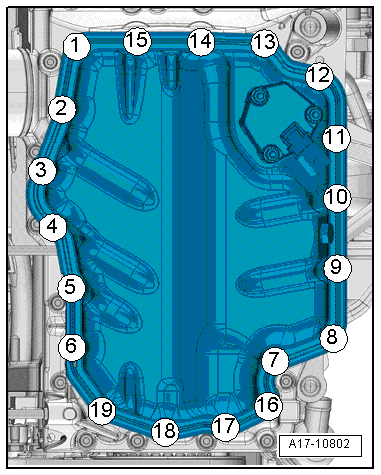
Loosen and unscrew bolts in the sequence
-19 … 1-. |
|
|
|
| – |
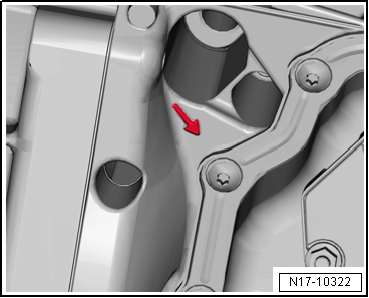
Fit a suitable screwdriver at the position marked with an
-arrow- and carefully lever lower
part of sump. |
| – |
Carefully detach lower part of sump from adhesive bond using
a commercially available scraper. |
 Note Note
| Danger of soiling lubrication system. |
| Cover open parts of engine. |
| – |
Spray sealing surface with sealant remover and leave to act. |
| – |
Remove sealant residues from sump upper part with a flat
scraper. |
Risk of eye injury caused by sealant residue.Wear eye protection. |
|
|
| – |
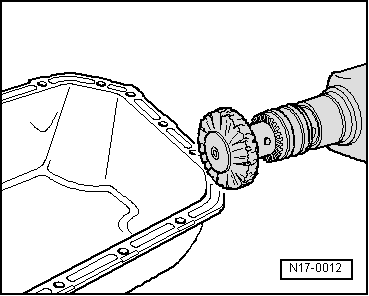
Remove residual sealant from bottom part of sump using,
e.g., a rotating plastic brush. |
| – |
Remove any oil and grease from sealing surfaces. |
Note
|
|
|
| Observe expiry date of sealing compound. |
| – |
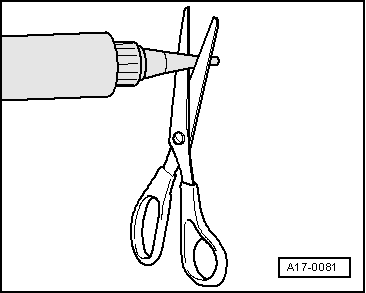
Cut off nozzle on tube at front marking (diameter of nozzle
approx. 2 mm). |
| Danger of blocking lubrication system with excess sealant. |
|
|
|
Questions & answers
Removing and installing lower part of sump — Volkswagen Golf Mk7
How do I remove the Golf Mk7 1.4 TSI lower sump?
Drain oil, unbolt the lower sump bolts in sequence and lower it. Clean the mating surface and fit a new gasket on installation.
Removing
–
Drain off engine oil.
–
Disconnect electrical connect ...
Removing
–
Remove sump (bottom section)
→ Chapter.
– ...