Using torque wrenches -V.A.G 1331- and -V.A.G 1332-, this page covers removing the Volkswagen Golf Mk7 rear track rod — unscrew the anti-roll bar retaining bolts first.
| Special tools and workshop equipment
required |
|
|
|
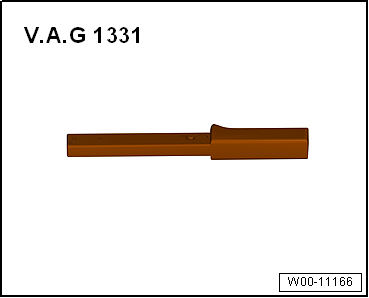
| Torque wrench -V.A.G 1331- |
|
|
|
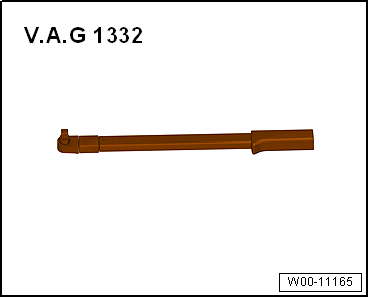
| Torque wrench -V.A.G 1332- |
|
|
|
| – |
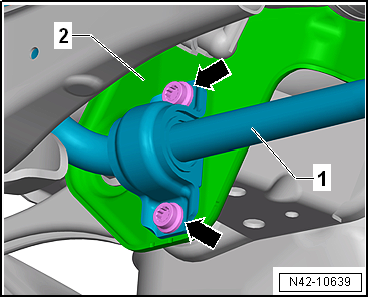
Unscrew bolts -arrows- for
anti-roll bar -1-. |
|
|
|
| – |
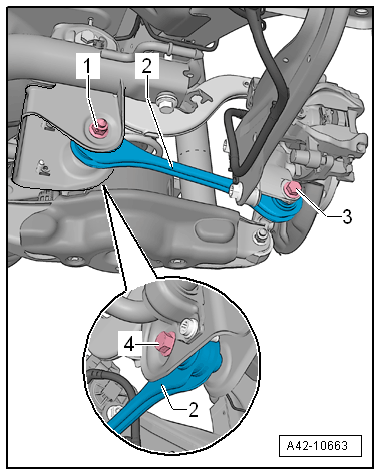
Unscrew nut -1- and bolt
-3- by a few turns. |
| – |
Unscrew nut -1-, and remove
bolt -4- towards rear. Push
anti-roll bar upwards while doing so. |
| Install in reverse order of removal, observing the
following: |
| The threaded connection of the track rod may be tightened
only when the dimension measured between the centre of wheel hub
and lower edge of wheel housing before starting the work has
been attained
→ Chapter. |
| – |
Perform wheel alignment
→ Chapter. |
| → Chapter „Assembly overview - track rod“ |
| → Chapter „Assembly overview - anti-roll bar“ |
| → Chapter „Torque settings for wheel bolts“ |
|
|
|
Questions & answers
Removing and installing track rod — Volkswagen Golf Mk7
How do I remove the Golf Mk7 rear track rod?
Mark the eccentric bolt position for toe reference. Unbolt from subframe and wheel bearing housing. Set toe on refitting.
Special tools and workshop equipment
required
Torque wrench -V.A.G 1332-
Re ...

 Removing and installing lower transverse link