 Note Note
| Removal and installation are described for the left vehicle
side. Follow same instructions for the right side as
appropriate. |
| Special tools and workshop equipment
required |
|
|
|
| |
|
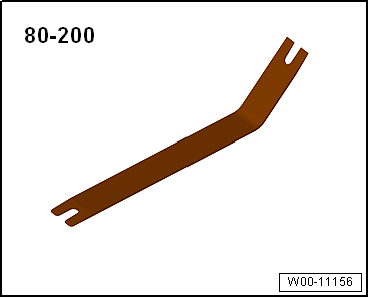
Removal lever -80 - 200 |
| – |
Remove roof end strip
→ Chapter. |
| – |
Release D-pillar trim -1- in
area of retaining clips -2- from
body mountings using removal lever -80 - 200-. |
| – |
Release D-pillar trim -1- from
luggage compartment side trim. |
| – |
Unclip D-pillar trim from retaining clips
-3-. |
| – |
Pull D-pillar trim -1-
downwards out of moulded headliner -arrow-,
and remove it. |
Note
-
| |
Before installing, check all fasteners for damage and
renew if necessary. |
-
| |
Remove any retaining clips -2-
left in body mountings using removal tool -T40280- and fit
them in D-pillar trim for installation. |
-
| |
Following installation, ensure that the D-pillar trim
is positioned in rear lid seal beading. |
| Installation is carried out in reverse order. |
|
Questions & answers
Removing and installing D-pillar trim — Volkswagen Golf Mk7
How do I remove the Golf Mk7 D-pillar trim (estate)?
Left side described. Unclip and remove. Only the estate has D-pillars — hatchback models do not have this trim.
Note
Removal and installation are described for the left
vehicle side. Follow same instructions for the right side as
appropriate.
...
Note
Removal and installation are described for the left
vehicle side. Follow same instructions for the right side as
appropriate.
...


