Note Note
-
| |
Removal and installation are described for the front
door trim on driver side. Follow same instructions for the
front passenger side as appropriate. |
-
| |
Removal and installation are illustrated for 4-door
vehicles. Removal and installation on 2-door vehicles are
analogous. |
| Special tools and workshop equipment
required |
|
|
|
| |
|
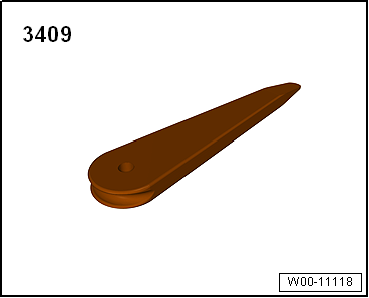
Removal wedge -3409- |
| |
|
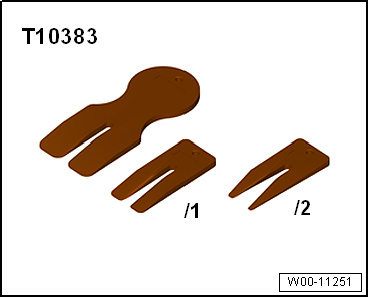
Wedges -T10383- |
| – |
Switch off ignition and all electric loads and then remove
ignition key. |
|
|
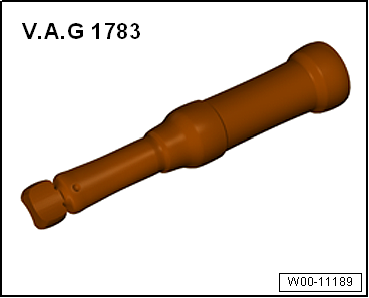
Torque wrench -V.A.G 1783 |
| – |
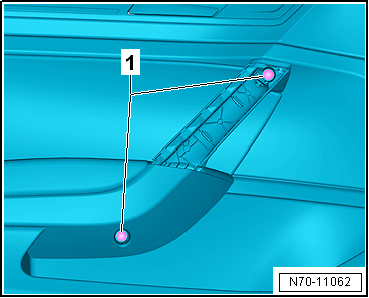
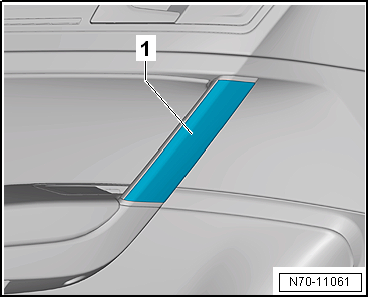
Lever upper part of handle recess -1-
out of mountings in door trim, using removal wedge -3409-. |
|
|
|
| – |
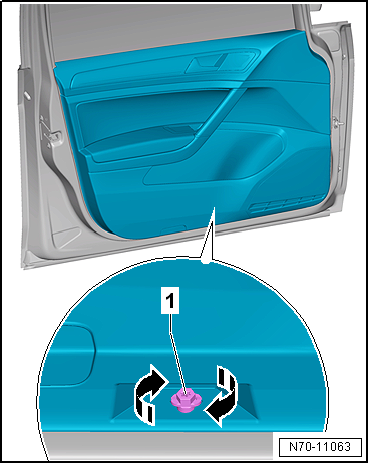
Release retaining clip -1- with
10 mm open-end spanner by turning it 90° (1/4
turn) in -direction of arrow-. |
|
|
|
| |
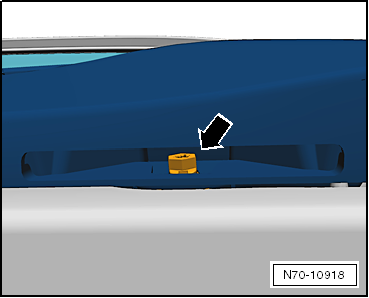
Retaining clip -arrow- is
released. |
|
|
|
| – |
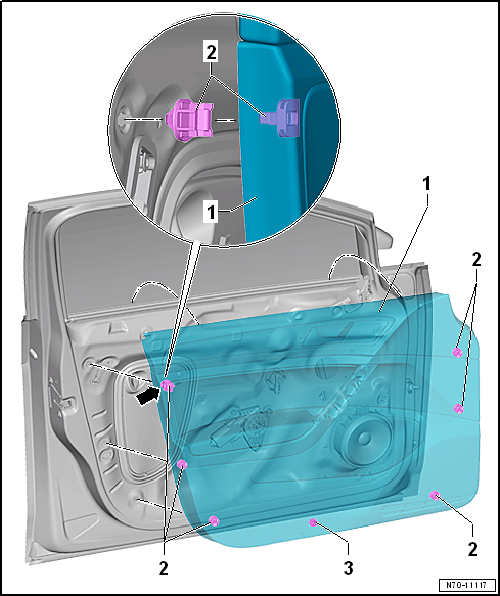
Force retaining clips -2- of door trim
-1- out of mountings with wedges -T10383-.
Clip -3- has already been released. |
Note
-
| |
On 4-door and estate models, the upper left clip
-arrow- is a crash clip. The crash clip
is released automatically when the door trim is detached from the
window slot seal. |
-
| |
On 2-door models have no crash clips installed. All door trim
clips must be released as described. |
 Caution Caution
| If the door trim is removed vertically upwards out of the
window slot seal, ensure that the door trim is not damaged by
colliding with the mirror cover trim. |
|
| – |
Pull door trim -1- upwards vertically
out of window slot seal. On 4-door and estate models, the crash clip
-arrow- is released automatically while
doing so. |
| – |
Disconnect the electrical plug-in connections from the door trim
-1- in accordance with the vehicle's
equipment. |
| – |
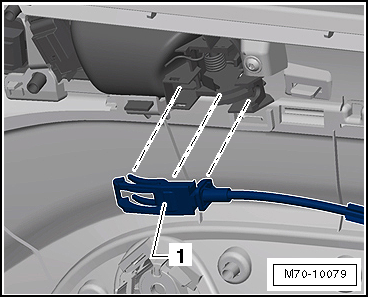
Unhook Bowden cable -1- from
inner door handle. |
Note
| Before installing, check all fasteners for damage and
renew if necessary. |
| Install in reverse order, but note the following: |
| – |
Insert retaining clips into front door trim. |
|
|
|
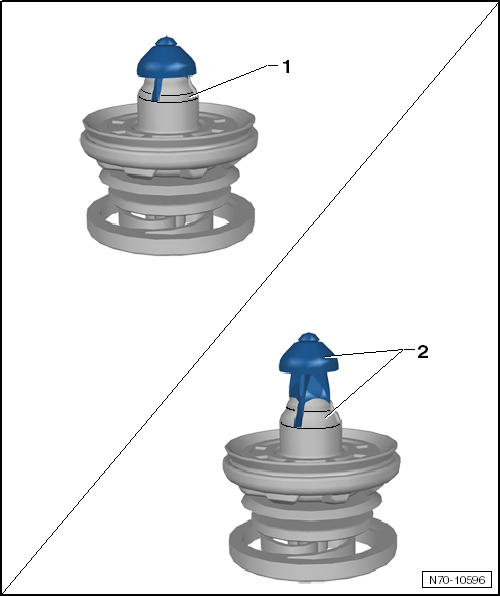
Caution
| Before installing door trim, ensure that the locking
mechanisms of all clips are in
-position 1-. |
| It is not possible to install the door trim without problem
if clips are in -position 2-! |
|
| |
→ Chapter „Assembly overview - front door trim“ |
|
|
|
Questions & answers
Removing and installing front door trim — Volkswagen Golf Mk7
How do I remove the Golf Mk7 front door trim?
Driver side described; passenger similar. Remove screws, unclip the trim panel starting from the bottom edge, disconnect the window switch and speaker connectors, and lift off.
Note
The assembly overview is shown for the front door trim on
driver side. The assembly overview for the front passenger side is
analogous.
...
Note
Removal and installation are described for the trim panel on
driver side. Follow same instructions for the front passenger side
as appropriate.
...