| Special tools and workshop equipment
required |
|
|
| |
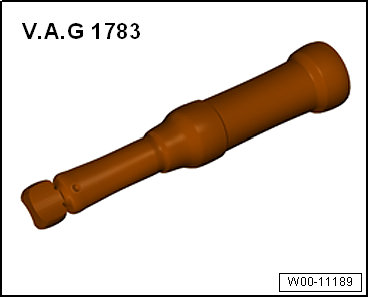
Torque wrench -V.A.G 1783- |
| – |
Unbolt front seat and tilt it towards rear. Do not remove
seat completely
→ Chapter. |
| – |
Remove bracket for seat trim
→ Chapter. |
 Caution
| Ensure not to damage any objects stored by the
customer in the storage compartment. |
| Store objects any objects from the storage
compartment in a sealable plastic bag. |
|
|
|
|
| – |
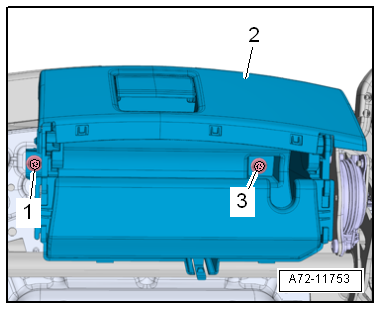
Remove any objects from the storage compartment
-2-. |
| – |
Pull out compartment -2-. |
| – |
Close storage compartment -2-. |
|
|
|
| – |
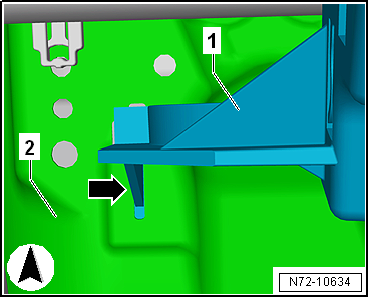
Lower storage compartment -1-
at front of seat -2-. |
| – |
Pull storage compartment -1-
towards front in direction of travel. |
| – |
Remove storage compartment -1-
from mountings -arrow- on left and
right. |
| Install in reverse order, but note the following: |
| – |
Ensure that the retainer for side trim is properly engaged
in mounting on storage compartment. |
| |
Assembly overview - storage compartment
→ Anchor |
| |
→ Chapter „Assembly overview - front seat“ |
|
|
|
Questions & answers
Removing and installing storage compartment — Volkswagen Golf Mk7
How do I remove the Golf Mk7 under-seat storage compartment?
Unbolt the front seat and tilt rearward (do not fully remove). Unbolt the compartment with torque wrench -V.A.G 1783- and remove from under the seat.
Removing
–
Move front seat to rearmost and highest position.
–
Release backrest and fold it towards fron ...
Note
Removal and installation are described for the left
vehicle side. Follow same instructions for the right side as
appropriate.
&nbs ...


