Using torque wrench -V.A.G 1331-, this page gives the full removal sequence for the Volkswagen Golf Mk7 rear lid: removing the upper and lower rear lid trim and the high-level brake light before disconnecting the lid itself.
| Special tools and workshop equipment
required |
|
|
|
|
|
|
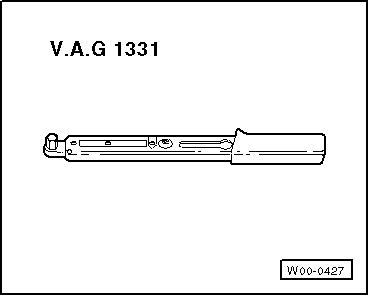
Torque wrench -V.A.G 1331- |
| – |
Remove upper rear lid trim
→ General body repairs, interior; Rep. gr.70. |
| – |
Remove lower rear lid trim
→ General body repairs, interior; Rep. gr.70. |
| – |
Remove high-level brake light
→ Electrical system; Rep. gr.94 |
| – |
Remove connectors of all installed electrical components. |
| – |
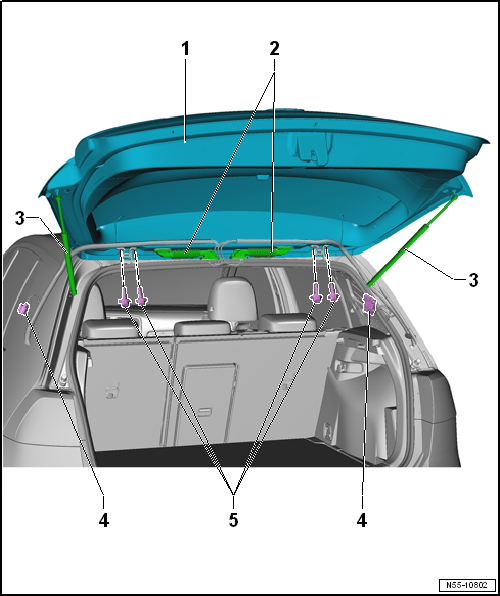
Thread electric cables/wire together with rubber grommet
-2- out of rear lid. |
 Note
Note
| The connectors -4- for wires
-2- are located on left C-pillars. |
| – |
Loosen bolts -5- on left and right
hinges (do not unbolt completely). |
| Further dismantling requires the assistance of a second mechanic. |
| – |
Remove gas struts -3-
→ Chapter. |
| – |
Now, remove bolts -5- completely and
then remove rear lid -1-. |
| – |
Install rear lid -1- with the aid of a
2nd mechanic. |
| – |
Install gas struts -3-
→ Chapter. |
| – |
Guide wires -2- into rear lid and
attach rubber grommet. |
| – |
Connect connectors of all installed electrical components. |
| Further installation is performed in the reverse order of removal. |
| – |
Before closing rear lid, check function of lid release components. |
| – |
Adjusting rear lid
→ Chapter. |
Questions & answers
Removing and installing rear lid — Volkswagen Golf Mk7
How do I remove the Golf Mk7 rear lid?
Remove the upper and lower interior trims, disconnect all electrical connectors (rear wiper, heated glass, lights, lock), detach the gas struts, mark and unbolt the hinges, and lift the tailgate off.
Do I need two people to remove the Golf Mk7 tailgate?
Yes. The tailgate is heavy and the gas struts must be disconnected while someone holds the lid. Attempting it alone risks dropping the lid and damaging the paint or bodywork.
1 -
Rear lid
Removing and installing
→ Chapter
Adjusting
→ Chapter
2 -
Bonnet lock
Removing and insta ...
Special tools and workshop equipment
required
Torque wrench -V.A.G 1331-
...


